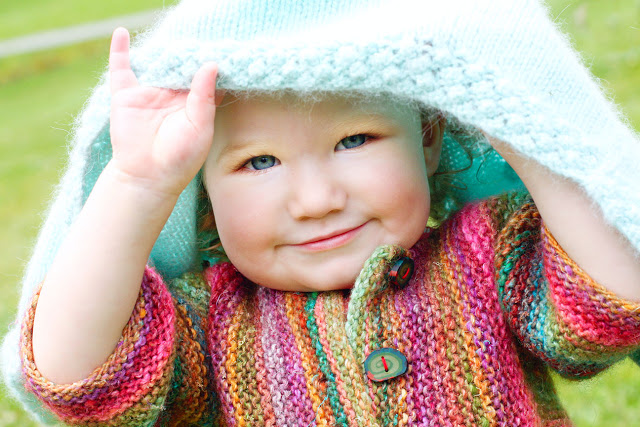

The original photo, out of camera to the left. Pretty bleah, in terms of colors. A small pic, so you won't dwell on it for long. It was a gray day, and colors are washed out, her face is a bit dark - just looks smoggy. Hooray for photoshop! I recently learned a new way to fix colors (both Intensity Increase and White Balance) by watching some youtube videos about photoshop - there are plenty out there. This is just one of many ways to fix colors - using Lab color mode and Curves. I suggest you look for videos yourself if you're interested in attempting this.
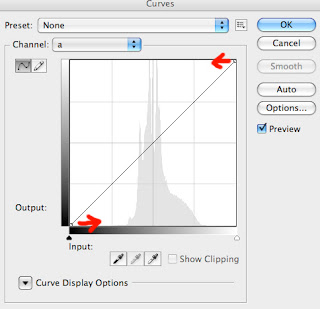
If you get adventurous and start tugging on points that are not on either end of the line, or move along the Y axis - good luck.
I used this method (plus other edits, sharpening and such) to get the pic above from the yucky-colored original. It's a portfolio pic for sure!